Integration with Tedee smart lock
Ostatnia modyfikacja: 03 marca 2026
Before you start integrating the lock with Fitssey, make sure that directly in your Tedee lock configuration it is set to automatically lock after 10 seconds.
Otherwise, after the first opening, the door will remain open.
How to create a Personal Access Key for a Tedee lock?
1. Log in to your Tedee panel at https://portal.tedee.com.
2. Click the letter in the top right corner of the screen, then select Personal access keys from the list.
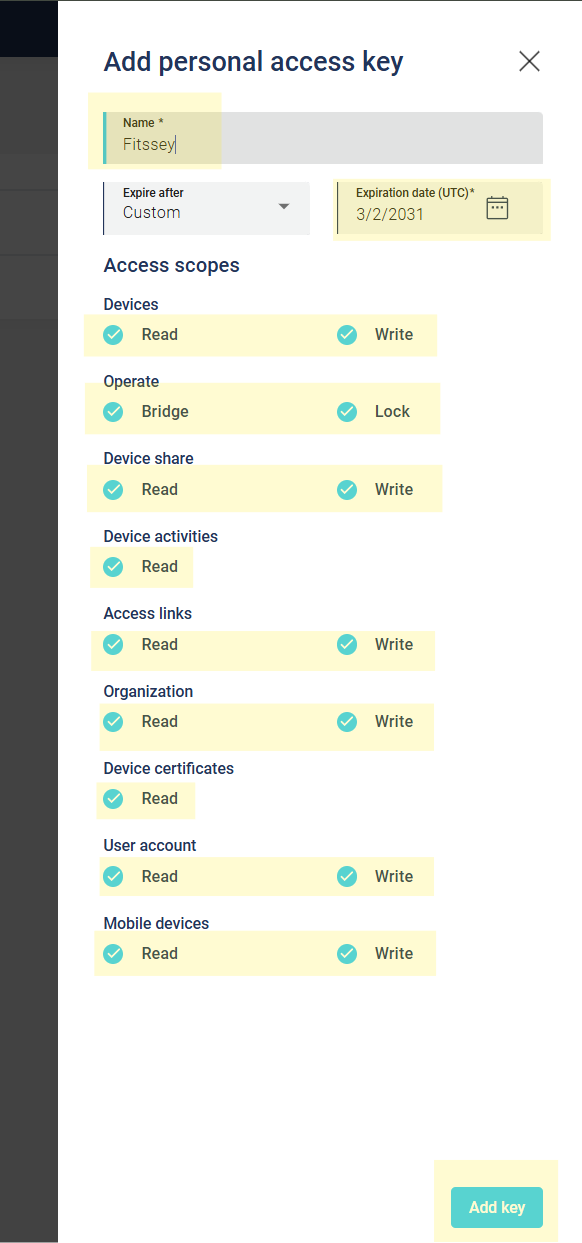
3. Click the Add key button and fill in the fields as follows:
- Name: e.g. Fitssey;
- Expiration date: it is very important to
select the furthest available date(currently March 2031); - Access scopes: select
ReadandWritein each field, as well asBridgeandLock.
4. Confirm the form by clicking the Add key button.
Make sure you copy and save the key – you will not be able to edit or preview it later.
How to add a lock in Fitssey?
1. Go to Studio > Integrations > Smart locks.
2. Click the Add button and complete the required fields:
- Name – if you have multiple locks, it is worth naming them in a way that clearly indicates in which room/location they are installed, e.g. „Wilanów Room”;
- Service provider ID – select Tedee;
- Lock serial number – you will find it on the device packaging. The number always consists of 13 digits and appears in the format XXXXXXXX-XXXXX. Copy and enter it in the same format;
- Personal access key – enter the access key created in the previous step;
- Lock opening time before class start – by default, the client will be able to open the lock at the class start time, however you can allow clients to access the room 2-15 minutes earlier.
3. Click the Add button to confirm adding the lock.
If the data has been entered correctly, the status will change to Connected.
How to assign the lock to the correct location?
1. Go to the Locations section and create a new room in the current location or edit an existing one.
2. When creating the room, you will be able to select the appropriate Tedee lock.
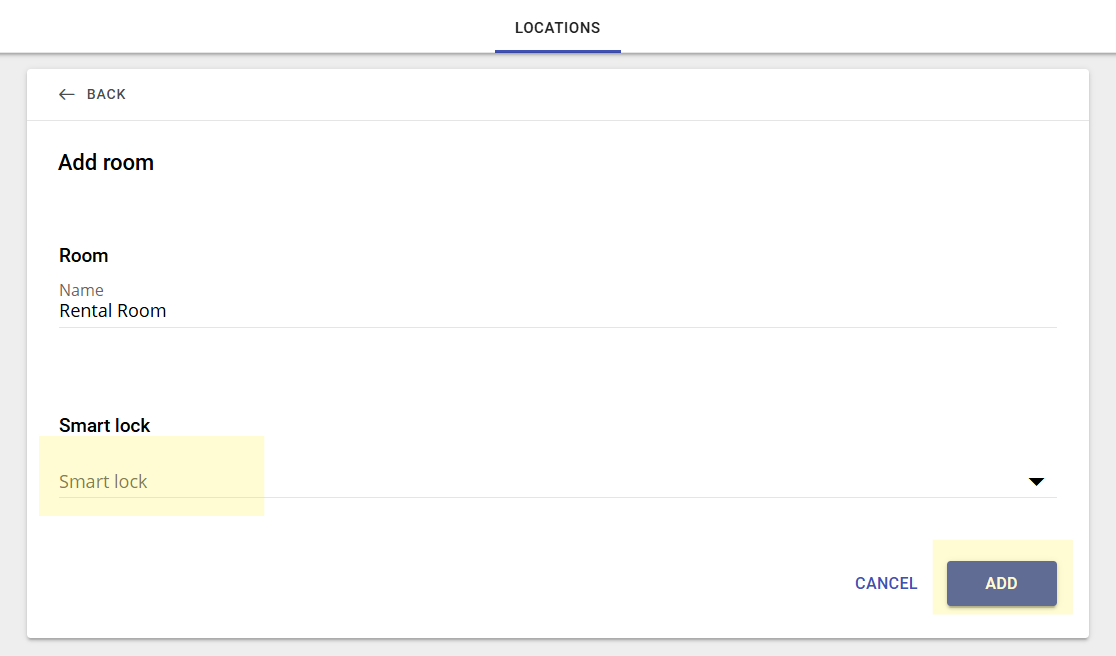
3. Save the settings by clicking the Add or Save button (depending on whether you are adding or editing a room).
For all classes scheduled in a room with an assigned Tedee lock, a key icon will appear in the schedule and the client will be able to open the door independently.